You can white-label/customize the Hosted Pages, provided you have the correct permissions.
In the Dashboard, go to Settings > Configuration > Web App V2 to customize your settings.
Under Settings you can change the following elements in Token.io's HP:
Once you have made the changes, you have the option to Preview the changes, Save them, or Reset to defaults.
This section enables you to customize the 'look and feel' of Token.io's HP.
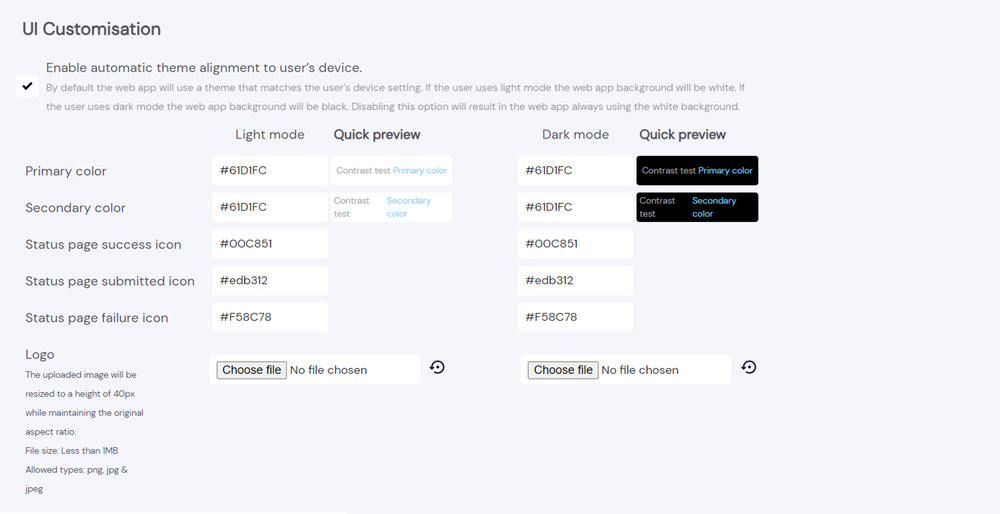
Selecting Enable automatic theme alignment to user’s device means that, by default, the HP theme will match the user's device settings. For example:
user uses light mode - the HP background will be white
user uses dark mode - the HP background will be black
Deselecting this option will result in the HP always using the white background.
You can also change the accent color (used for some graphics, buttons, selection, toggle, activated UI elements such as dropdowns, text fields and hyperlinks), and the colors of the following icons:
Status page success icon  |
|---|
Status page submitted icon  |
Status page failure icon  |
By default the Status page submitted icon is #edb312 for both light mode and dark mode.
By default the Status page failure icon is #f58c78 for both light mode and dark mode.
You can also upload your company logo. The logo file size must be no more than 1 MB, with a file type of .png, .jpg or .jpeg. The image will be resized to have a maximum height of 40 pixels, while retaining its original aspect ratio.
These settings control which data points provided in a session API payload are displayed to the user on the HP.
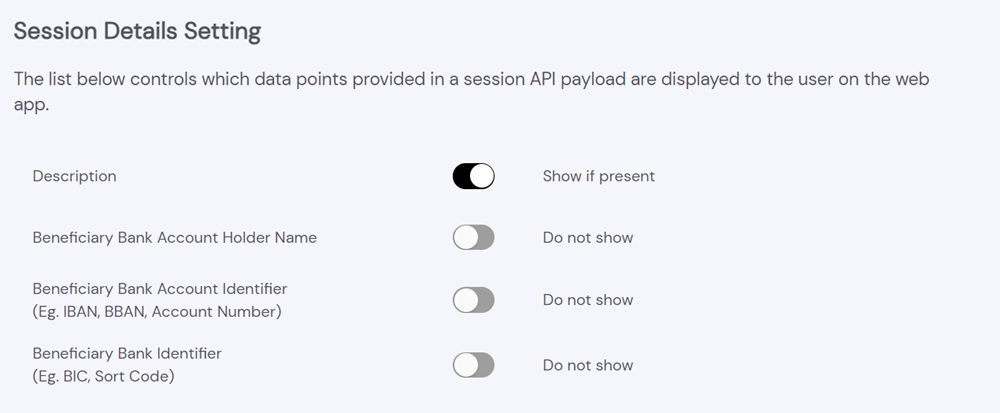
The options are:
Description
Beneficiary Bank Account Holder Name
Beneficiary Bank Account Identifier (e.g., IBAN, BBAN, Account Number)
Beneficiary Bank Identifier (e.g., BIC, Sort Code)
By default the Description is enabled, but the beneficiary details are not enabled.
This section controls the icons displayed in the footer.
The confidence logos indicate to the user that the service is SSL secured, GDPR compliant and regulated by a financial authority such as the FCA in the UK or BaFin in Europe.
Selecting Default trust generating icons displays the following:
For mobile:
For desktop:
The trust icons are enabled by default.
Selecting Customized footer enables you to upload your own images. The footer file size must be no more than 1 MB, with a file type of .png, .jpg or .jpeg. The image will be resized to have a maximum height of 20 pixels, while retaining its original aspect ratio.
These settings control the way in which the HP screens are displayed to the user.
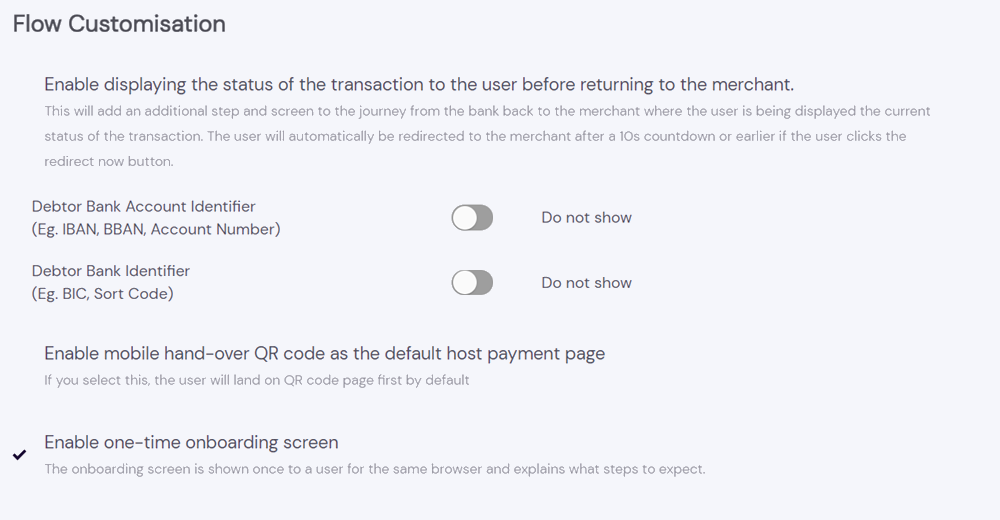
The options are:
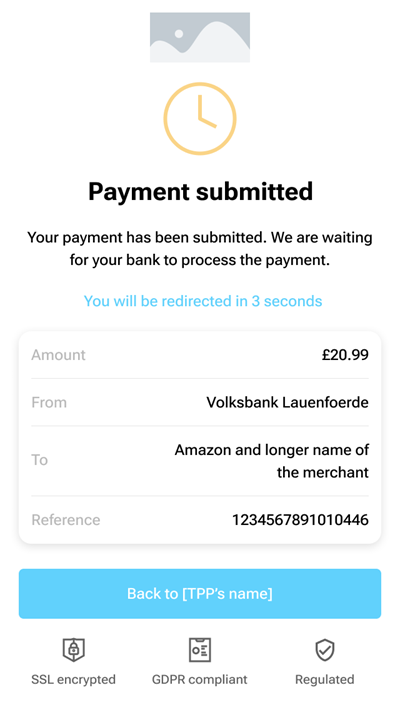
Enable displaying the status of the transaction to the user before returning to the merchant - When selected, this will add an additional step and screen to the user journey from the bank back to the merchant where the current status of the transaction is displayed to the user. The user will automatically be redirected to the merchant after a 10 second countdown, or earlier if the user clicks the Redirect now button.
By default this option is not enabled.
The available screens are:
 |  |  |  |
|---|---|---|---|
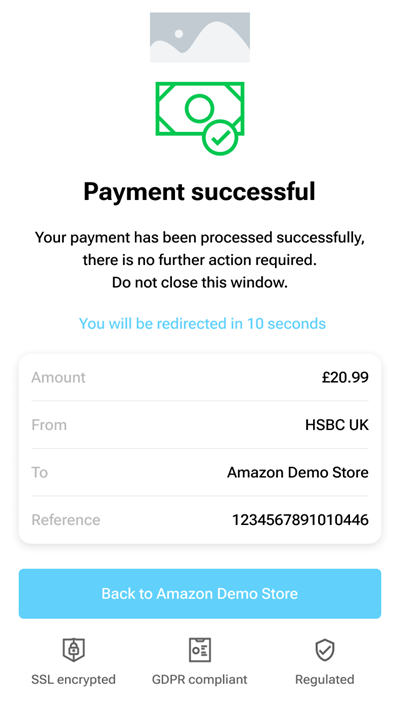
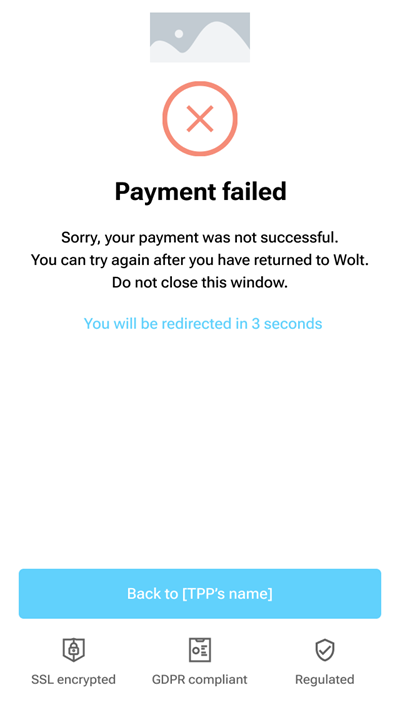
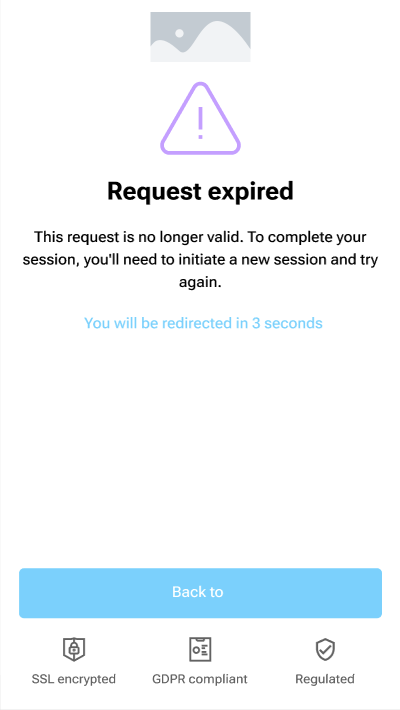
| Payment submitted | Payment successful | Payment failed | Request expired |
The status shown to the user is the status of the transaction at that particular moment. It won't get updated on that screen, i.e., that screen will continue to display Payment submitted even though the final status of the transaction, e.g., Payment successful or Payment failed may have been reached.
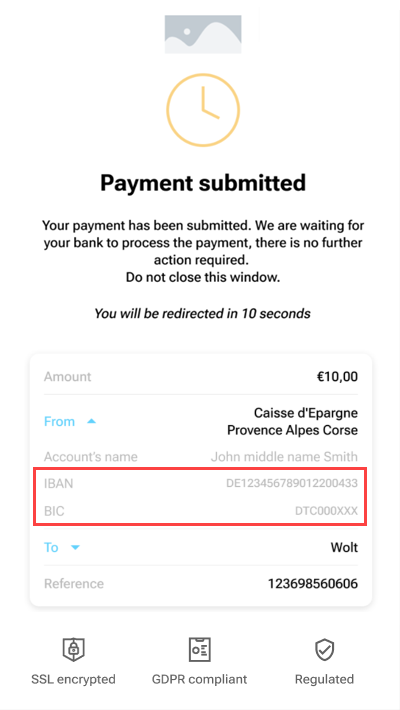
Debtor Bank Account Identifier and Debtor Bank Identifier - When these options are selected the Debtor Bank Account Identifier and Debtor Bank Identifier details are displayed in the From dropdown on the Payment submitted screen.
By default these options are not enabled.
 |
|---|
| Debtor bank details |
Enable mobile handover QR code as the default host payment page - When selected, this adds an extra step to the user journey where a screen displaying a QR code enabling the user to switch between their desktop and mobile device is displayed.
By default this option is not enabled.
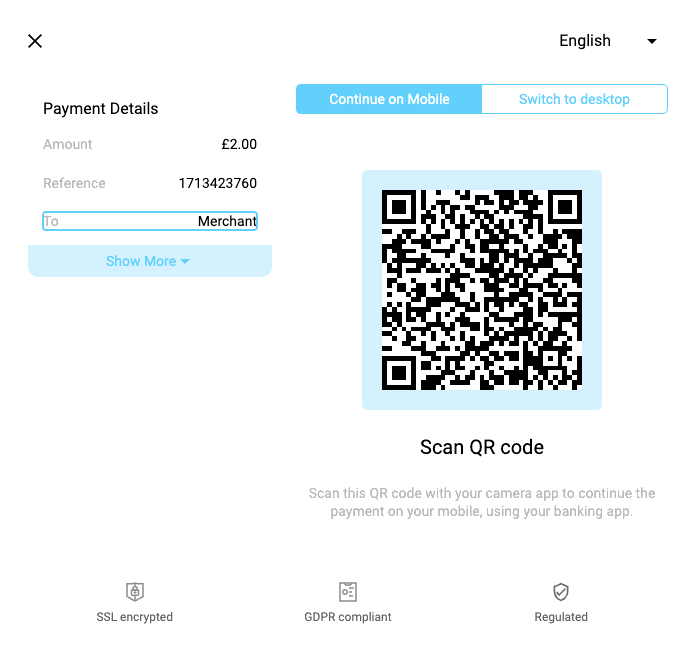 |
|---|
| QR code |
Enable one-time onboarding screen - When selected, the onboarding screen is displayed to a user for the current session, after the Pay by Bank button is clicked. If you deselect this option, the user will not see this screen in subsequent sessions.
By the default this option is enabled.
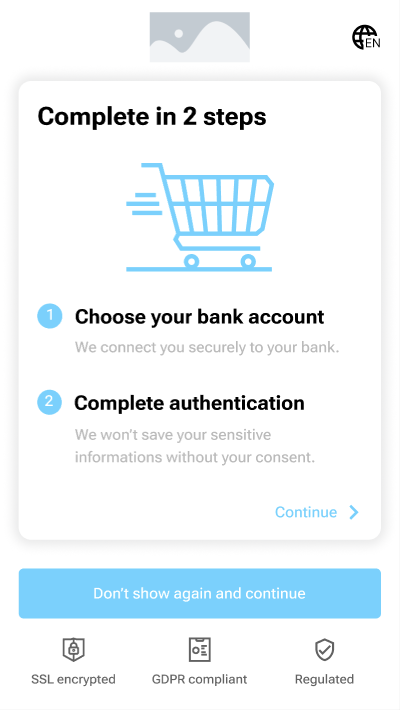 |
|---|
| Onboarding |
See Hosted Pages user journeys for examples of these screens in user journeys.
This section enables you to customize the legal text for the HP.
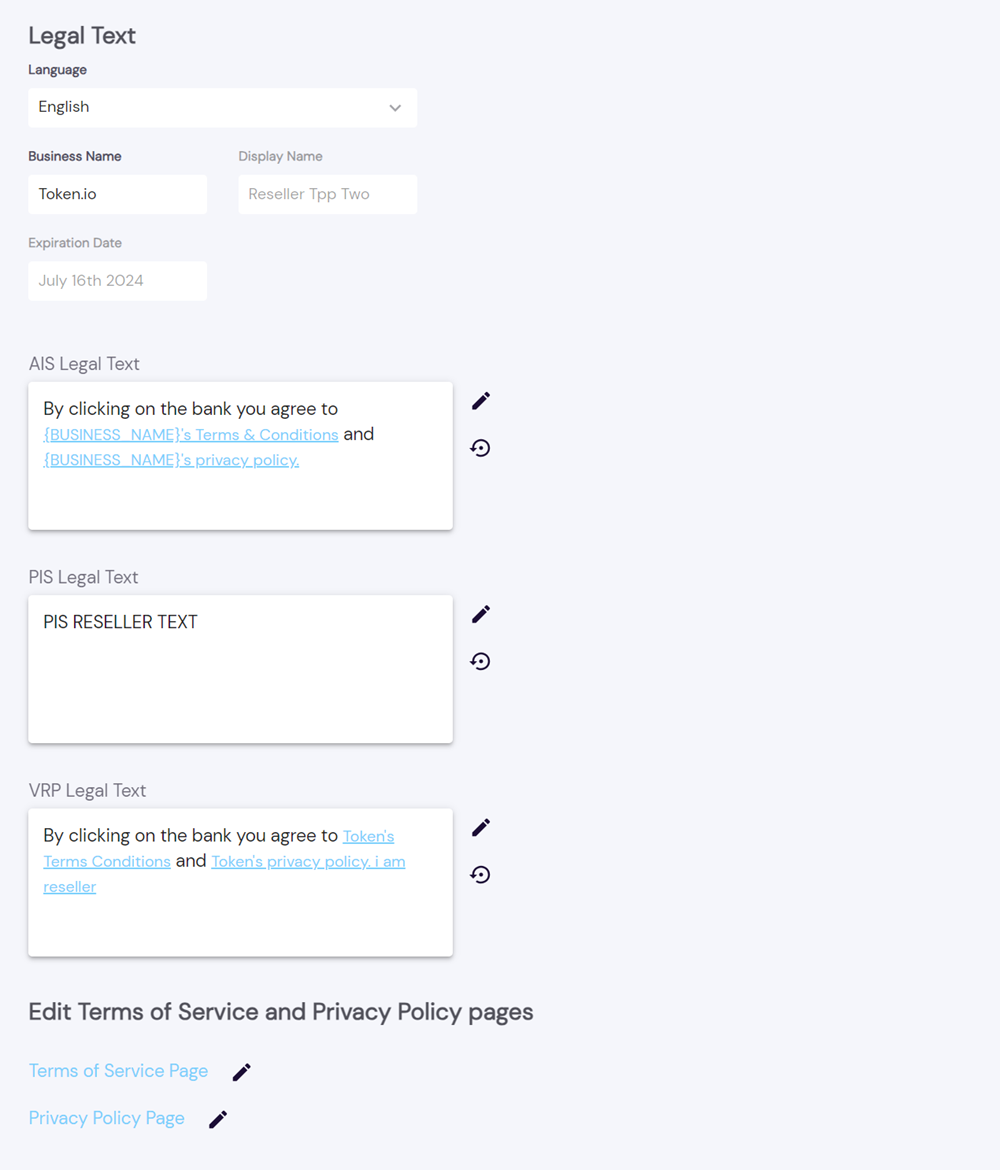
You can select the language for the legal text, enter the legal name of the business, the name you want displayed in the Hosted Pages and the expiration date when the text should be reviewed.
Depending on your integration, you can choose to customize the text for AIS (Data), PIS or VRP.
You can add links to your own pages instead of using Token.io's hosted terms. If you want to use Token.io's hosted text pages, you'll need to ensure that you retain the link place holders.
Using the options in this section, you can edit the Terms of Service and Privacy Policy pages.

These are the pages that you link to in the Legal text section.
If you have any feedback about the developer documentation, please contact devdocs@token.io