Token.io's HP guide the user through request initiation to consent and authentication with the bank. Here are example of user journeys using UK and EU banks, on both mobile and desktop.
This example shows what happens when a new mobile user initiates Pay by Bank with a UK bank, with redirect integration implemented.
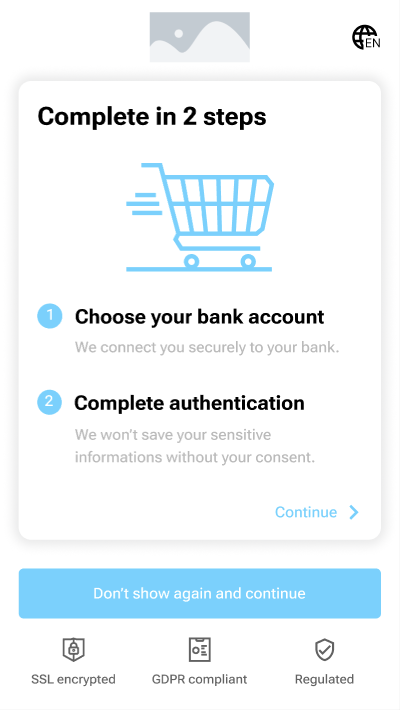
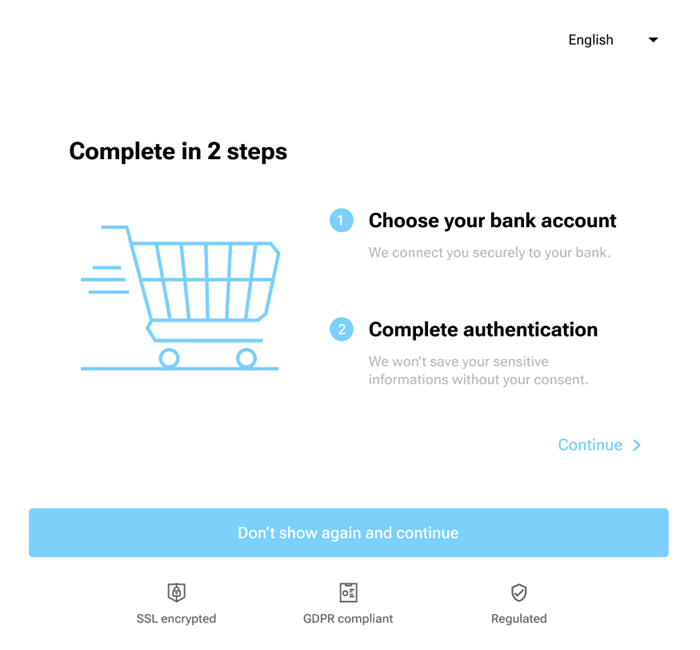
As this is a new user, the onboarding screen is displayed (screen 1). The user can choose to Continue to bank selection or choose Don't show again and continue, in both cases this onboarding screen is not shown when the user next chooses Pay by Bank, as long as the user has the same browser and doesn’t clear their cache or cookies. You can choose not to display this screen, even for new users, by deselecting Enable one-time onboarding screen in Settings > Configuration > Web App V2 > Flow customisation.
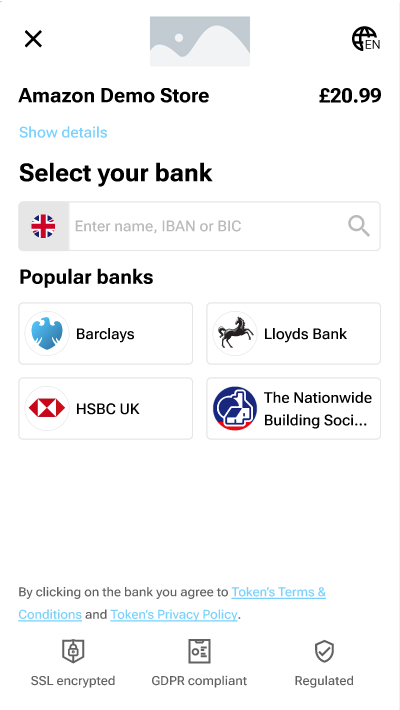
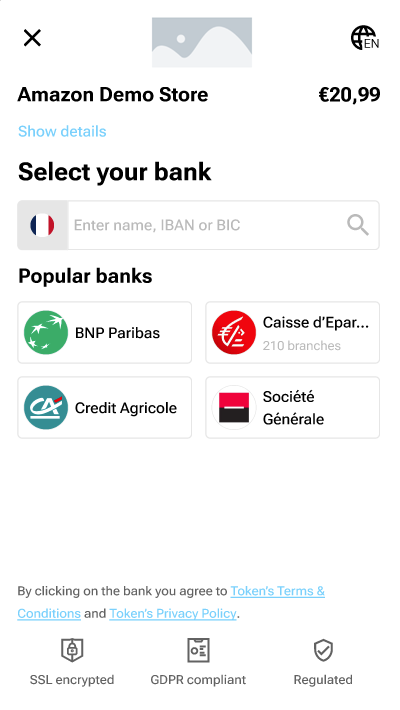
The user can choose to search for their bank or choose from the most popular banks, which are displayed by default. The user can also save their choice for the next time they select Pay by Bank (screen 2), with this merchant.
This user journey also shows the status screen (screen 6) where the current status of the transaction is displayed to the user; in this example Payment successful. You can opt not to display this screen by deselecting Enable displaying the status of the transaction to the user before returning to the merchant in Settings > Configuration > Web App V2 > Flow customisation.
 |  |  |  |
|---|---|---|---|
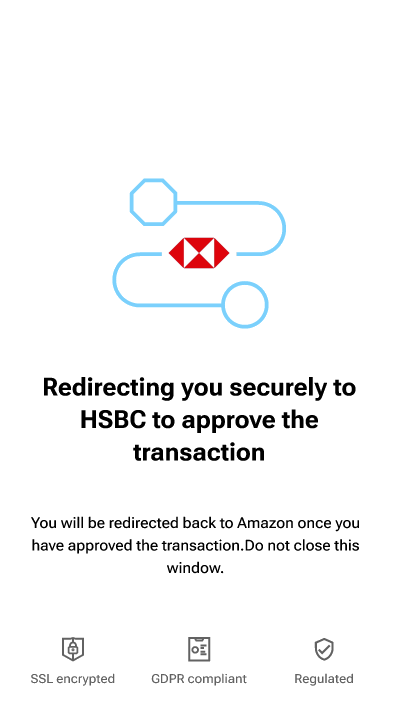
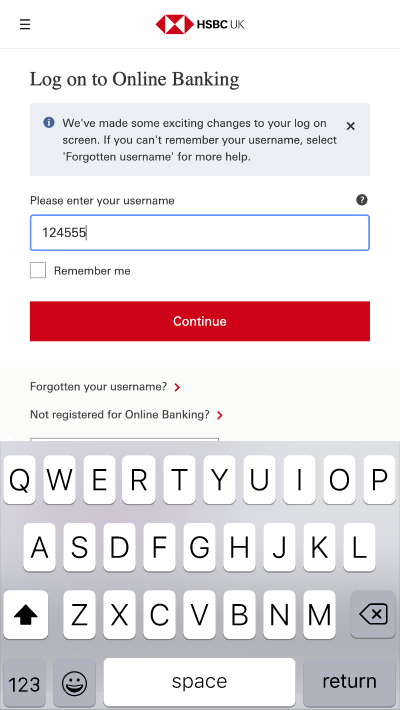
| 1. Initiate pay by bank | 2. Select your bank | 3. Redirect to your bank | 4. Log in to your bank |
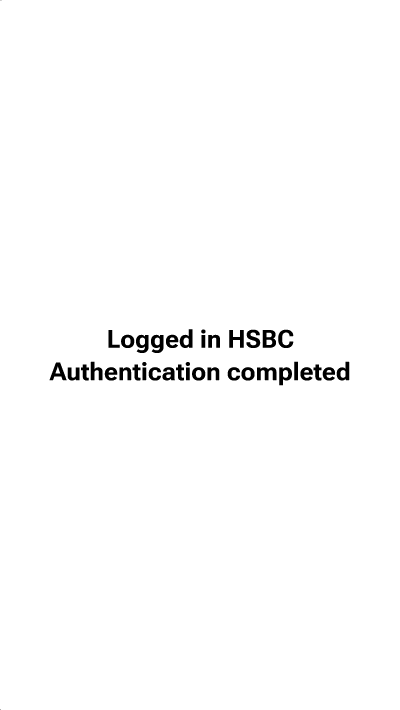 | 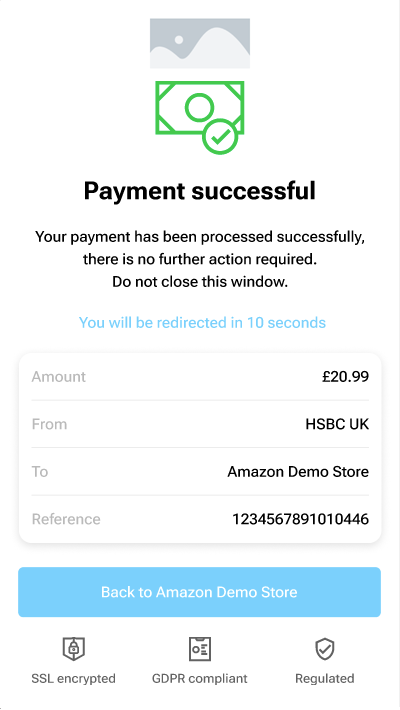 | 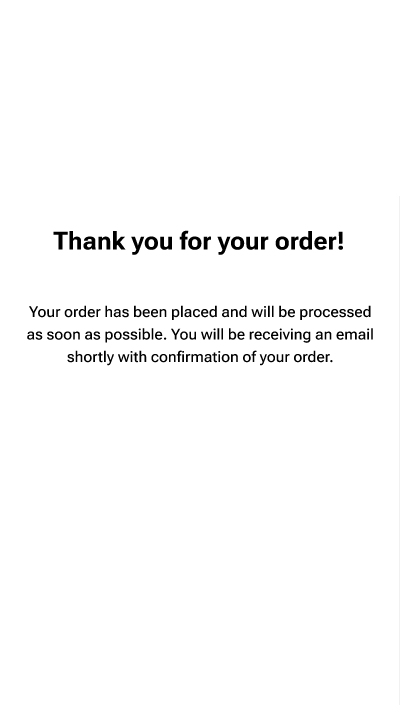 | |
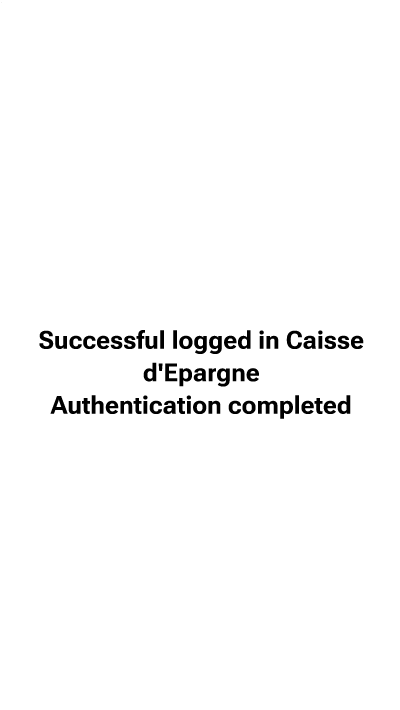
| 5. Authentication completed | 6. Payment confirmation | 7. Merchant acknowledgement |
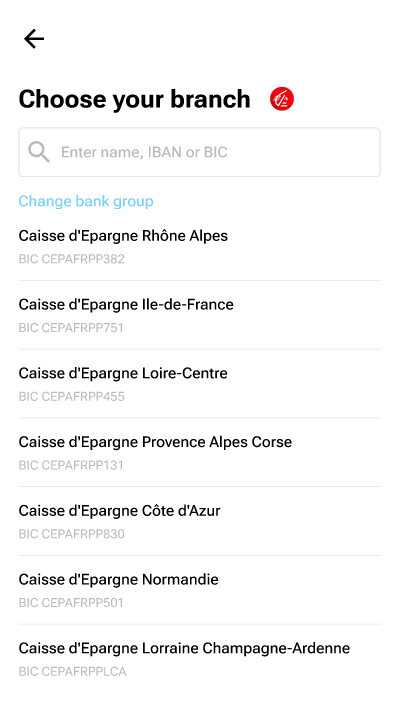
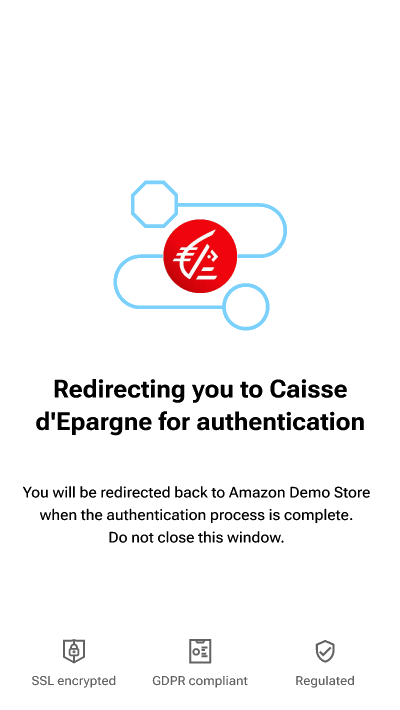
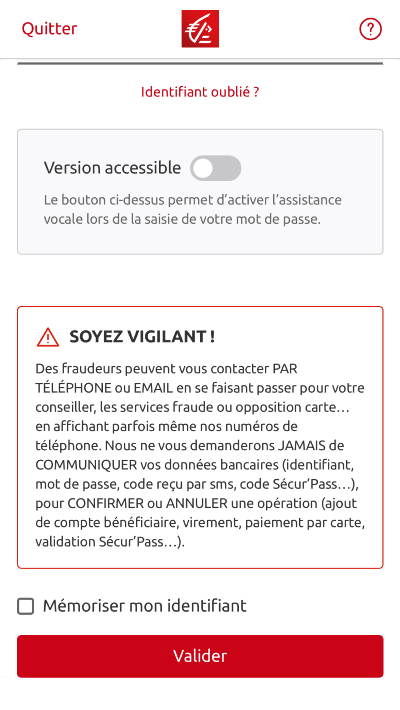
This example shows what happens when a new mobile user initiates 'Pay by Bank' with a bank in the EU that has branch selection, with redirect integration implemented.
As this is a new user, the onboarding screen is displayed (screen 1).
The user can choose to search for their bank or choose from the most popular banks, which are displayed by default. The user can also save their choice for the next time they select Pay by Bank (screen 2).
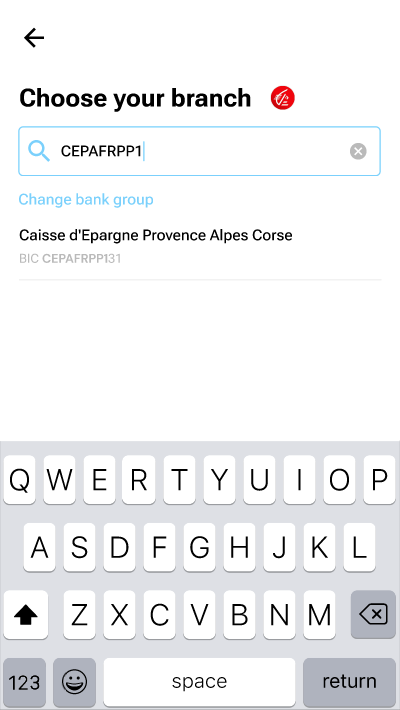
Additional screens are displayed to enable users to select their bank branch (screens 3 and 4).
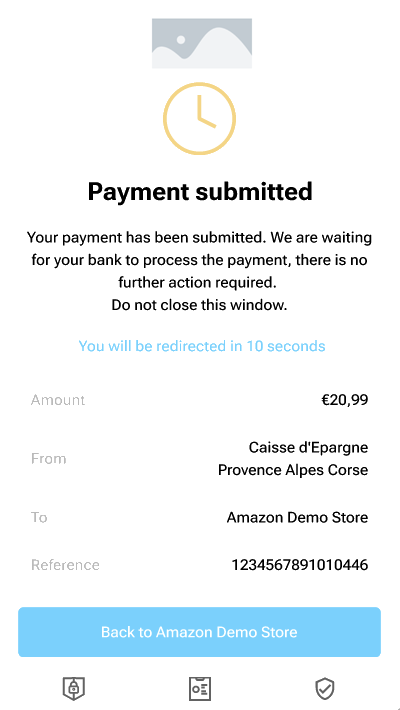
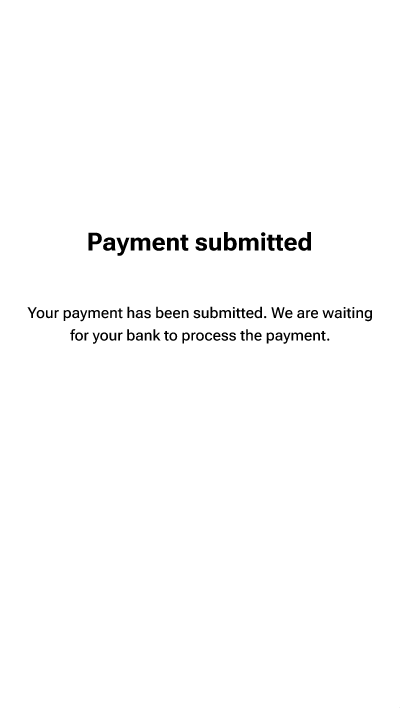
This user journey also shows the status screen (screen 9) where the current status of the transaction is displayed to the user; in this example Payment submitted.
|  |  |  |  |
|---|---|---|---|---|
|
|
|
|
|
 |  |  |  |  |
|
|
|
|
|
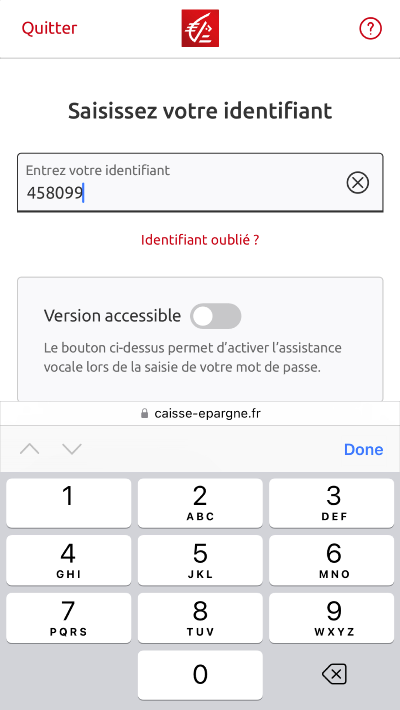
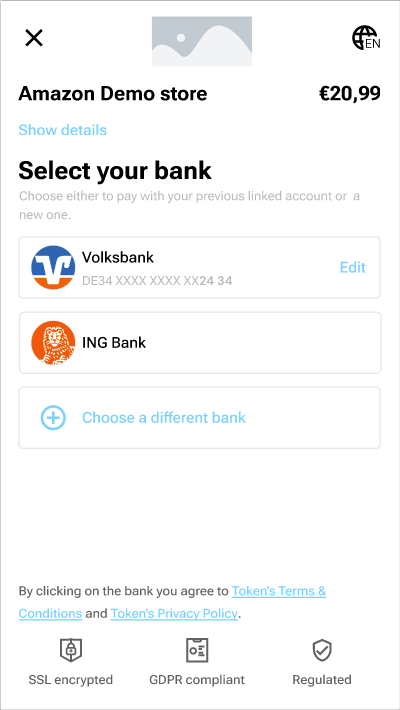
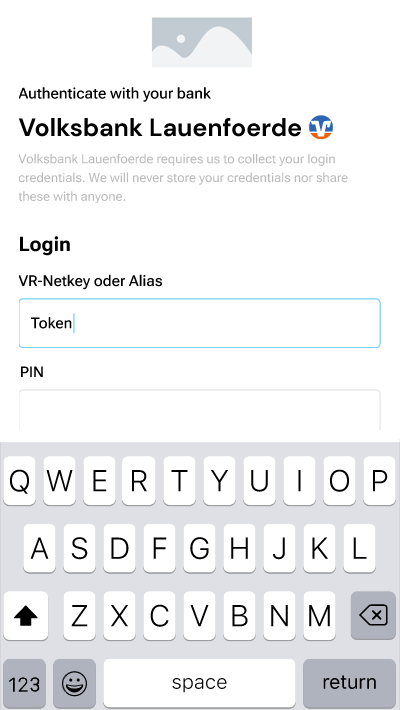
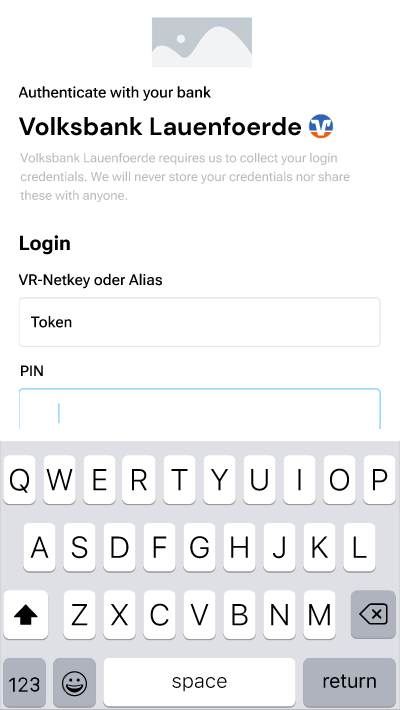
This example shows what happens when a returning mobile user initiates Pay by Bank with a bank in the EU.
As this is a returning user, the onboarding screen is not displayed but the user is asked to authenticate using an SCA method. This example uses a PIN to access the user's account and then allows the user to select the SCA method.
 |  |  |
|---|---|---|
| 1. Select your bank | 2. Log in to your account | 3. Enter your PIN |
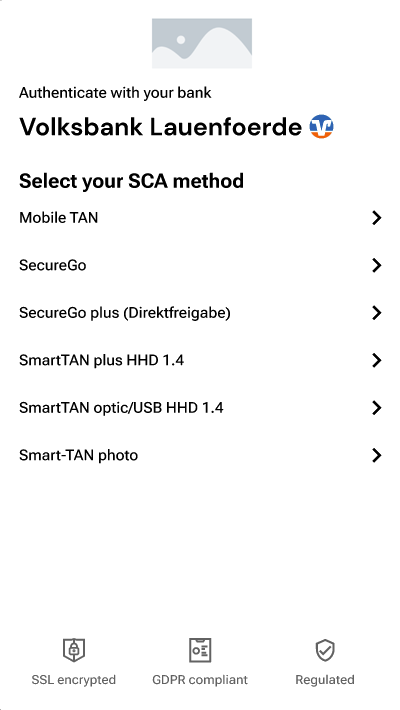 | 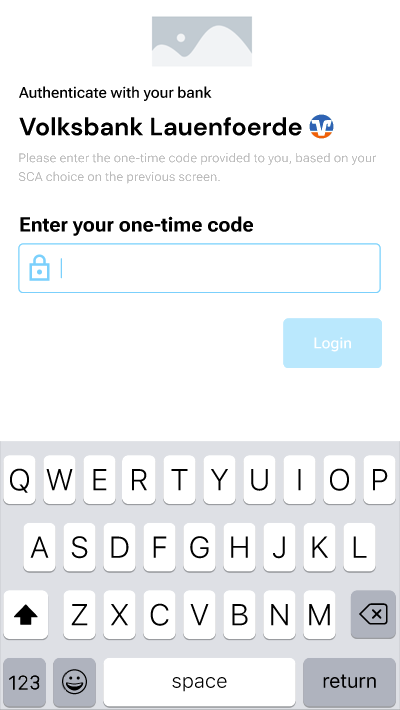 | |
| 4. Select SCA method | 5. Enter your one-time code |
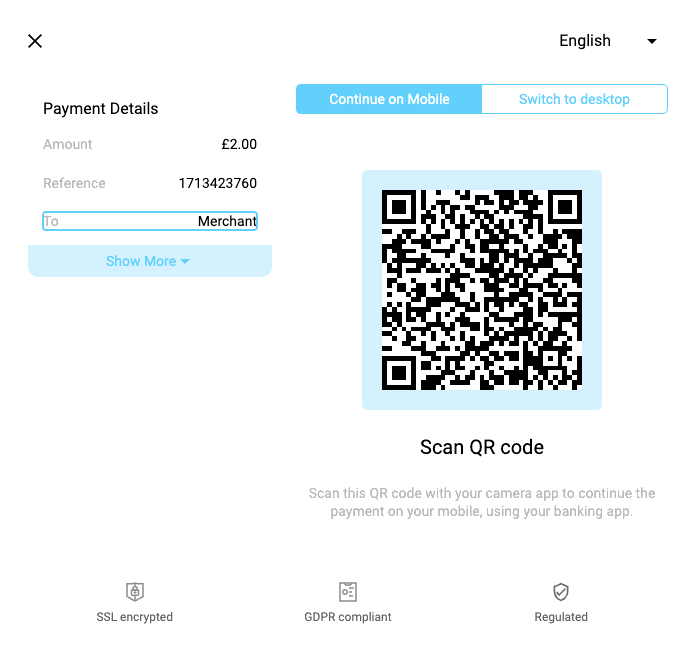
This example shows what happens when a new desktop user initiates Pay by Bank with a bank in the UK and uses the displayed QR code to switch from desktop to mobile. You can choose to display the QR code as the default by selecting Enable mobile handover QR code as the default host payment page in Settings > Configuration > Web App V2 > Flow customisation.
As this is a new user, the onboarding screen is displayed (screen 1). If Enable mobile handover QR code as the default host payment page has been selected, the user will be presented with the QR code which they can scan (screen 2). The user's journey then continues on their mobile phone (screen 3).
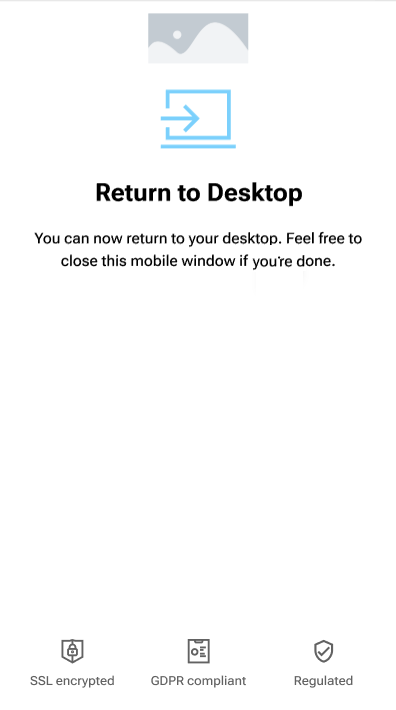
A message displays on the user's desktop asking them not to close the desktop window (screen 4). Once the transaction is complete the user has the option to return to the desktop from their phone (screen 5).
 |  | |
|---|---|---|
| 1. Initiate pay by bank | 2. Scan the QR code with your phone | 3. The user journey continues on your phone |
 |  |
|---|---|
| 4. Continue on your phone and keep the desktop window open | 5. Return to the desktop from your phone |
If Enable mobile handover QR code as the default host payment page is not selected (this is the default setting), the bank selection screen is displayed.
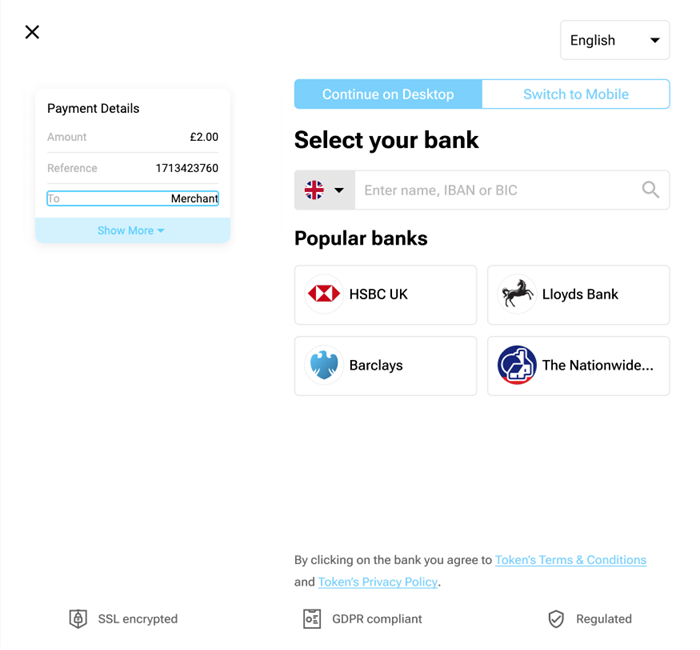
The user has the option to Switch to Mobile either before or after bank selection on the desktop. If the user chooses to switch before selecting their bank on the desktop, they'll be presented with the bank selection screen on their mobile. It the user chooses to switch after bank selection on the desktop, they'll be presented with the bank authentication screen on their mobile.
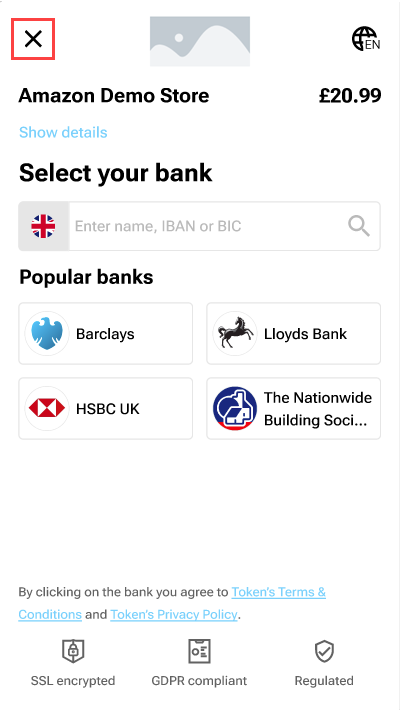
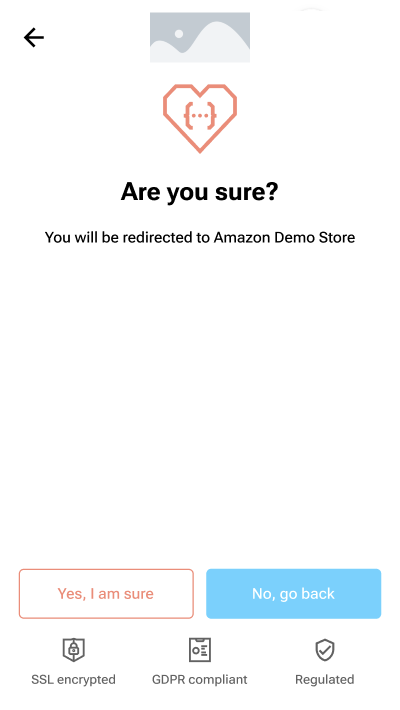
This example shows what happens when a returning mobile user cancels a transaction with a UK bank. The user can cancel a transaction at any point in the user journey by clicking the Cancel button in the top left hand corner. The user will then be asked to continue with, or rescind, the cancelation.
 |  |
|---|---|
| 1. Click cancel button | 2. Continue or rescind cancelation |
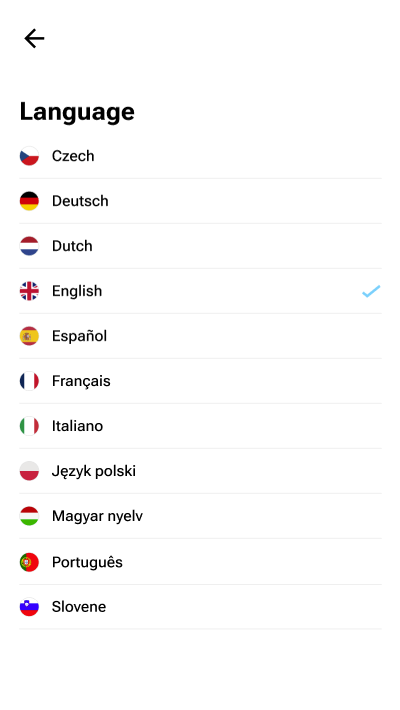
The user can change the language in the HP by clicking the Language button in the top right corner of the screen and then selecting the required language from the list.
 |  |
|---|---|
| 1. Click language button | 2. Select language from list |
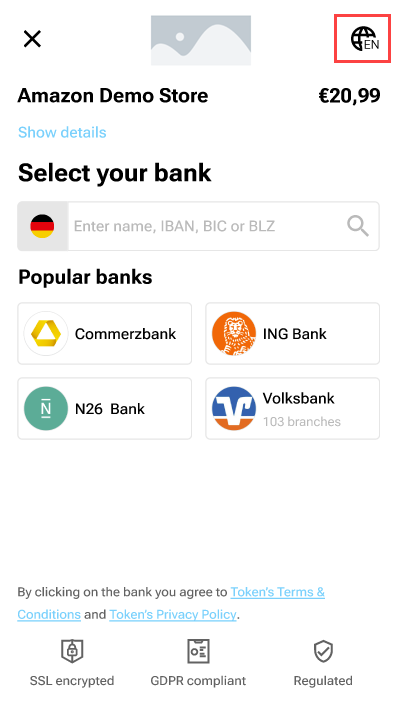
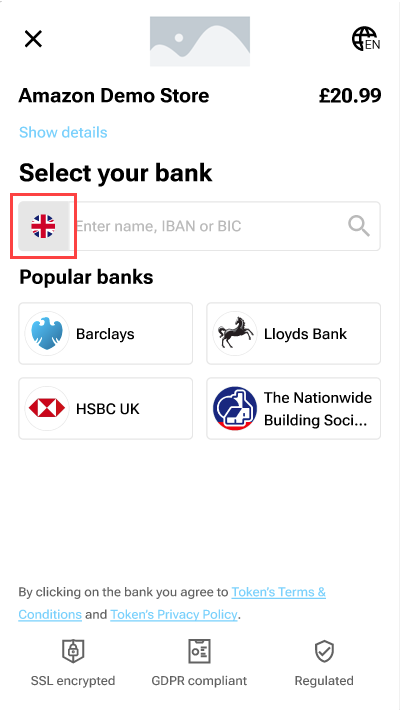
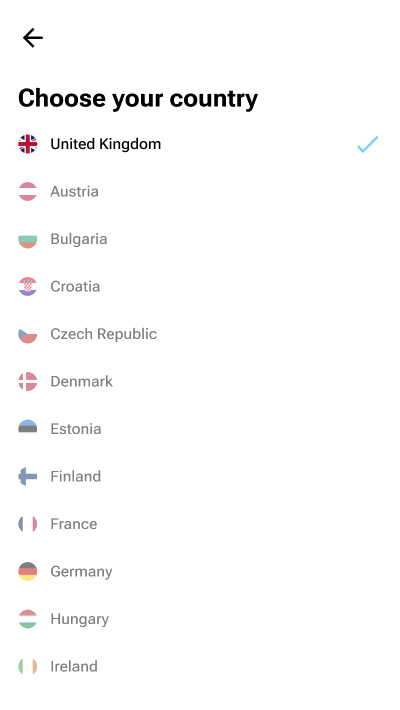
The user can change the country in the HP by clicking the Country button on the Select your bank dropdown and then selecting the required country from the list.
 |  |
|---|---|
| 1. Click country button | 2. Select country from list |
The following settings determine which countries the user can see, or select from, in Hosted Pages v2.
Bank selection in the dashboard (available in both Payments v1 and v2) - This limits the banks shown in the Hosted Pages and can be as granular as including or excluding specific banks, or controlling the countries that can be accessed.
See WebApp - Bank selection for more details.Countries array in the API (available in Payments v1 only) - This limits the selectable countries in the Hosted Pages.
See the countries array in the API reference for more details.Country query parameter (available in both Payments v1 and v2) - preselects the country but allows the end user to switch countries, within the limits defined by the bank selection in the dashboard and the countries array in the API.
See Localization parameters for more details.
This screen is displayed in a redirect integration if the browser back button is clicked during authentication and consent after redirecting to the bank.
| Navigation restriction |
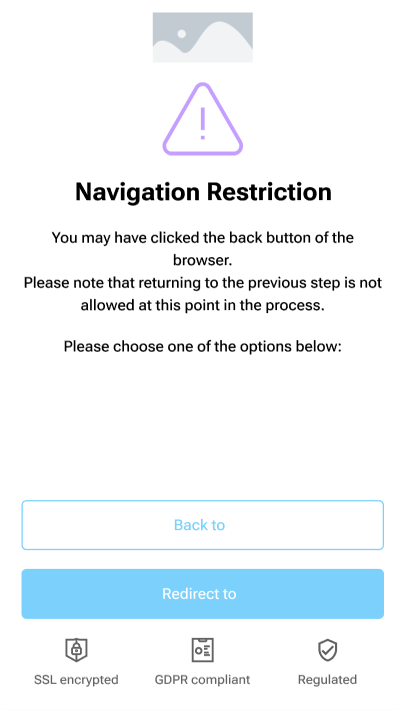
This screen gives you the options to return to the merchant or a redirect option. The redirect button's behavior will depend on the type of bank integration:
one-step integration (bank-initiated payments) – the user is directed to the TPP-provided redirect URL.
two-step integration (TPP-initiated payments) – the user is returned to the bank selection process, where they can choose to go back to the same bank or back to the TPP.
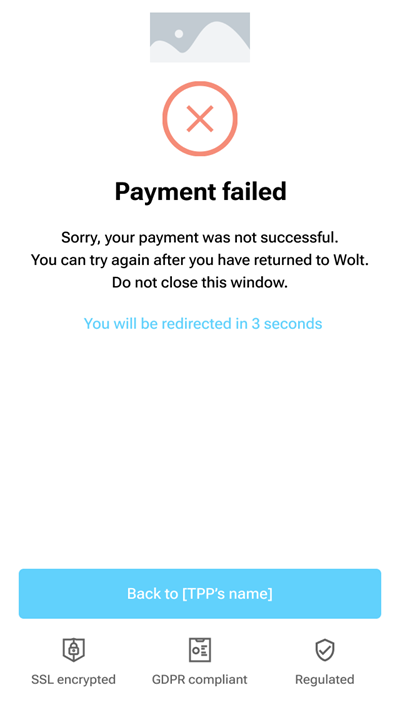
This screen is displayed when the final status of the transaction has been reached and the payment has failed.
 |
|---|
| Payment failed |
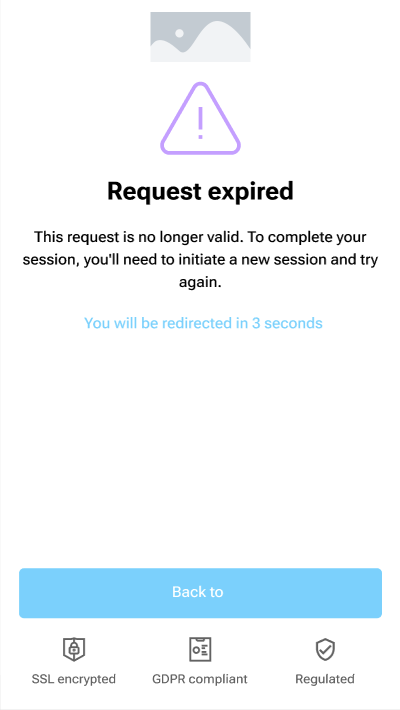
This screen is displayed when the user experiences an expired request, e.g., SESSION_EXPIRED. It's displayed when the requestId or paymentId expires, usually within 20 minutes of the requestId or paymentId being generated.
 |
|---|
| Request expired |
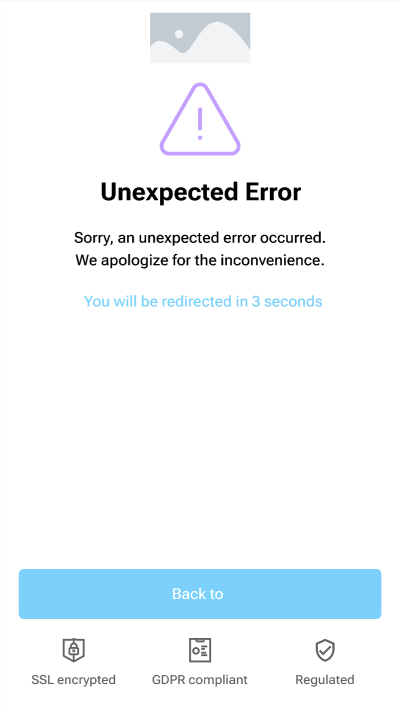
This screen is displayed when the user experiences as an error. This is a 'catch all' screen for when an unexpected error from the API is received, it is not related to any payment status.
 |
|---|
| Unexpected error |
This screen is displayed when the service (Token.io's A2A payments infrastructure) is unavailable.
 |
|---|
| Service unavailable |
Before the Token.io Hosted Pages redirect to the bank for authorization, the user's IBAN is validated. Until IBAN validation succeeds, Hosted Pages redirect to the selected bank is paused.
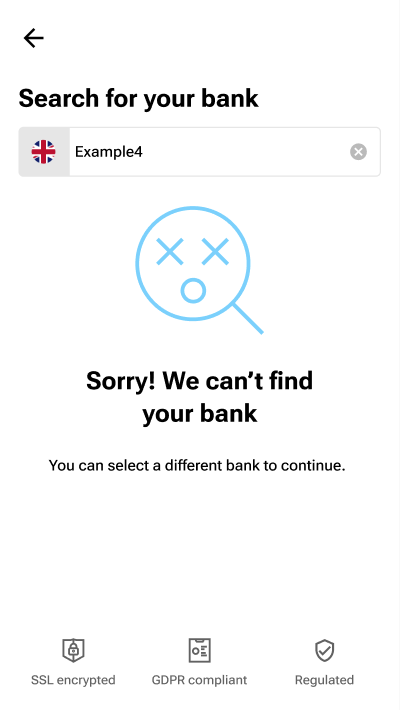
Users can search the list of banks by entering a full or partial bank name, BIC, IBAN or bank code (e.g., BLZ). If a full bank name, BIC, IBAN or bank code is provided and a match is found, a single result is displayed.
 |  |
|---|---|
| Search for your bank | Bank not found |
When multiple matches are found for a partial string, all matching results are listed for user selection.
Prior to customer redirect to the Hosted Pages, you can filter the search list with a GET /banks or GET v2/banks call.
See Bank Selection (v1) or Bank Selection (v2).
If you have any feedback about the developer documentation, please contact devdocs@token.io